
To schedule a prerecorded live stream, first create it with the correct destination and MP4. When processing finishes and the stream is Ready, SAIUNES lets you choose when it begins and whether it runs indefinitely or pauses at a future time.
Create the Stream Before Scheduling
Open SAIUNES Live Studio and select Create stream. Enter a stream name, paste the destination RTMP URL and private stream key, select the prerecorded MP4, and select Create stream.
SAIUNES uploads and processes the video. Processing typically takes about 10 seconds to 1 minute depending on its duration and file size; larger files may take longer. Scheduling controls become useful once the stream shows Ready.
If you need help with the form, follow the illustrated guide to streaming prerecorded videos live.
Choose the Start Time
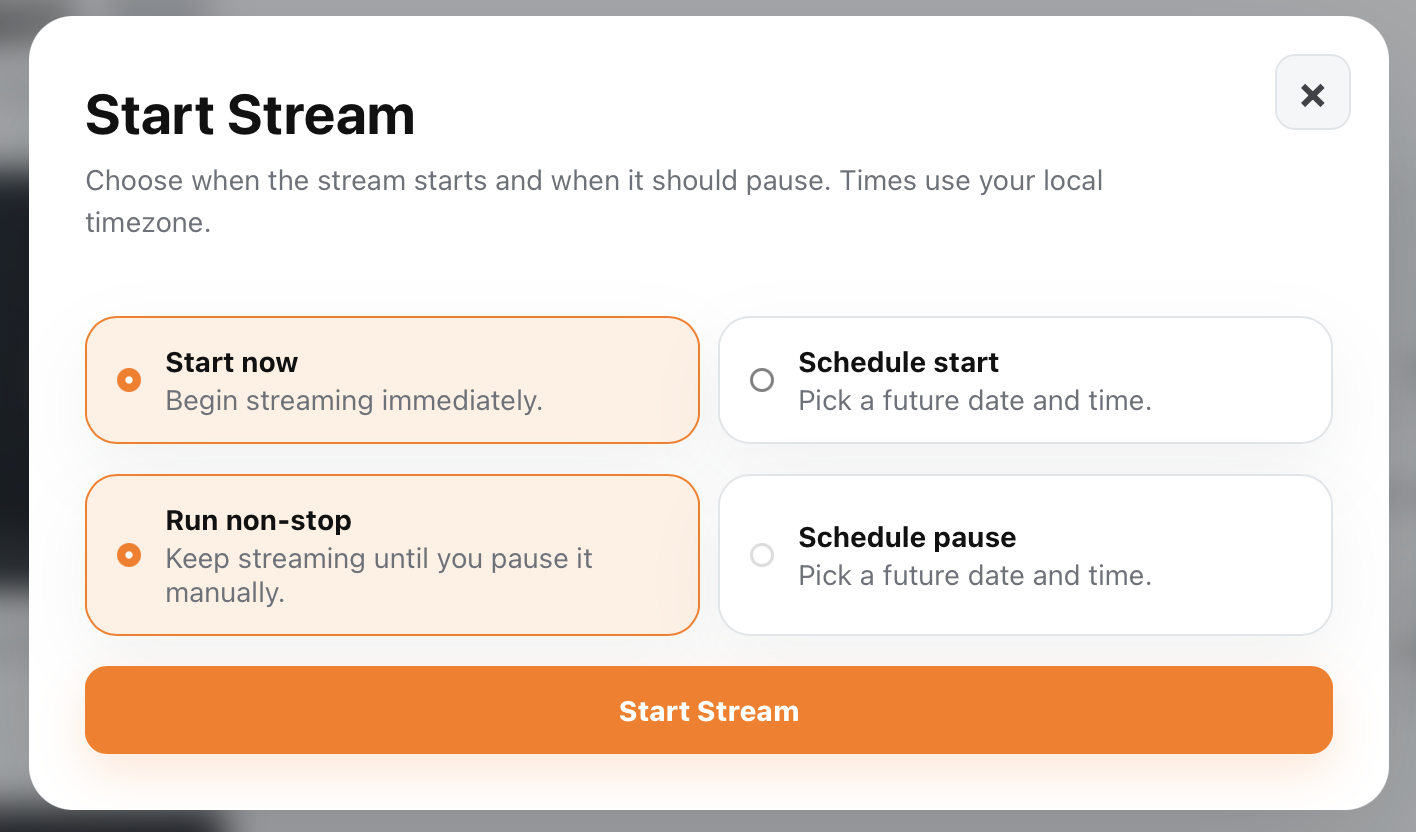
Select Start stream from the Ready stream controls. You can then choose:
- Start now to begin sending the video immediately
- Schedule start to select a future date and time
The scheduling interface uses your local time zone, so confirm the displayed time carefully when viewers are in other regions.
Choose How the Stream Ends
The second decision controls duration:
- Run non-stop keeps the broadcast running until you pause it manually
- Schedule pause stops delivery at the future date and time you select
Use a scheduled pause for a campaign, event window, limited program, or content that should not remain live after a deadline. Use Run non-stop for an always-on video stream that should continue until you intentionally change it.
Plan for the Destination
Scheduling in SAIUNES controls when SAIUNES sends the video. The destination may have its own event schedule, preview step, or go-live confirmation. Align both systems and verify the destination's current instructions.
Before the scheduled start:
- Confirm the RTMP key still belongs to the intended event
- Check the event visibility and audience settings
- Review the title, description, and thumbnail
- Confirm rights to all video and audio
- Allow enough time for upload and processing
- Account for time-zone differences
The article on reaching viewers across time zones can help with a broader availability plan.
Verify the Scheduled Broadcast
Return near the scheduled time and check that the destination receives the signal. Watch as a viewer to confirm video, audio, timing, and public visibility.
If a scheduled stream does not appear, check its Ready state, destination key, local time zone, and destination event settings. The streaming troubleshooting guide provides additional checks.
Use Scheduling With Intention
Live stream scheduling reduces manual timing work, but it still benefits from preparation and monitoring. Create the stream early, verify both start and pause choices, and confirm the receiving platform behaves as expected.
